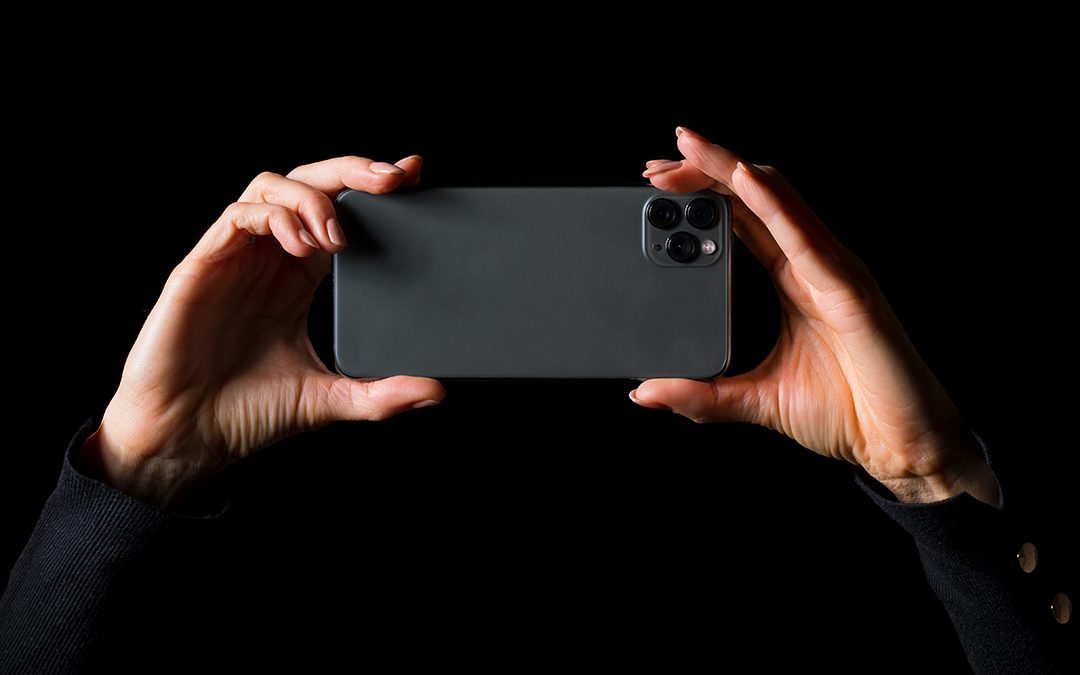
Now to look at using your iPhone’s Camera app like a pro! To continue to get the best features on your iPhone, be sure to keep it updated. When Software Updates are available on your device – get them. They’re free and will add features to your iPhone periodically.
Before shooting on your iPhone, jump into the Settings for your iPhone and navigate to Camera. For video you want the Format to be 4K at 24fps. This will capture your video in a high quality format. Further down, under the section labelled Composition, toggle on the switch next to Grid. And finally, at the bottom, be sure to toggle the switch to on for Smart HDR.
Time to shoot! Launch your Camera App and the first thing you’ll now notice is that you have white grid lines on your screen. These will not be in your shots but are super handy for framing your shots. Levelling and framing to get the shot looking good will add so much value to your shots. Also for social media, you need to be midful of the Square aspect; your phone has a screen with huge Wide realestate but Social media is mostly shown in Square – so use your grid to plan for a cropped square final shot.
Turn off the Live Photo switch. This shoots those bursts of shots – they’re fun but you don’t want these when shooting a still.
Focus and Exposure. These are so important in getting a great quality shot. Sounds technical but on your iPhone it’s as simple as tapping the screen before you hit that shoot button. When you setup your shot, simply tap the screen at the point you want in focus. You’ll see a yellow square flash up. This is setting the lens to focus on that point. If you want to shift the focus to another area, tap again there . The same works for Exposure (too bright or too dark). That spot where you tapped is where the iPhone will expose the image from. If you have an overall very dark image on screen, tap to expose on the darkest area. You’ll then notice a brightness shift to your image.
Now go and shoot some great content for your Social Media!

